
Cinema 4D R20
3 August 2018
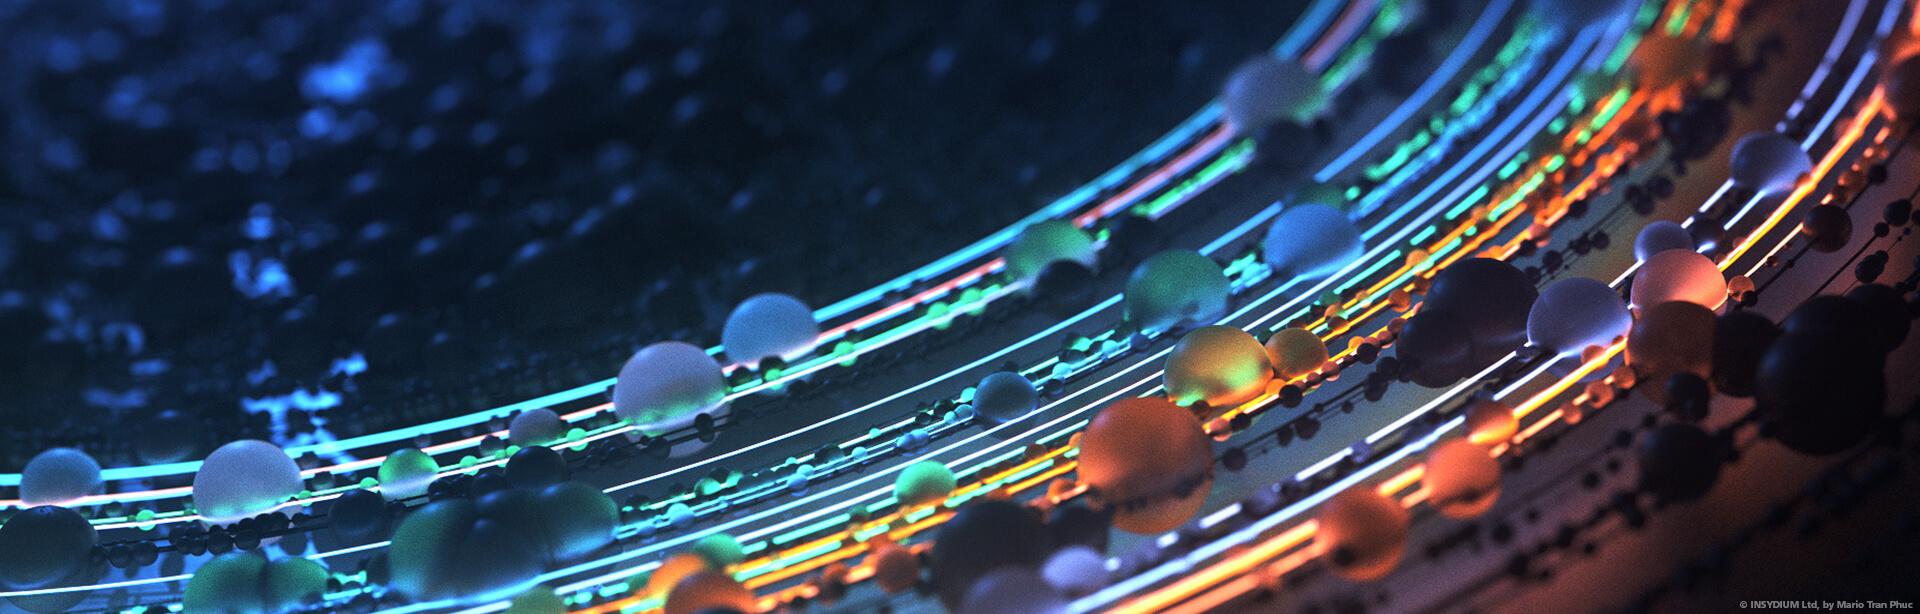
Node-Based Materials
From simple references to complex shaders, you can build extraordinary materials in a node-based overview. Complex effects created via nodes can be wrapped as assets and delivered as simple materials, with just the necessary parameters exposed. Release 20’s node-based materials have the power to change the way you work, whether you directly create amazing shaders through nodes or simply make use of assets shared by those who do.

MoGraph Fields
Falloffs are one of the most powerful aspects of Cinema 4D and the MoGraph feature set, making it easy to adjust an effect based on simple shapes. Fields allow you to layer those shapes, link them to multiple effects, and so much more. It’s a whole new world of possibilities.
Fields define the strength of an effect, whether it’s a MoGraph Effector, a Deformer, a Vertex Map or Selection tag. Many different types of fields offer many ways to define that strength - from simple shapes to shaders or sounds, to objects and formulas. Layer Fields on top of each other with standard mixing modes and remap their effects. Group multiple Fields and use them to add all sorts of effects.
CAD Data Import
Clients always have CAD models - now you have an easy way to use them. In Cinema 4D Release 20, you can directly and easily import Solidworks, STEP, Catia, JT and IGES files. Bring in the machines and the other things - objects, splines, instances and hierarchies - and start building amazing visualizations in Cinema 4D.
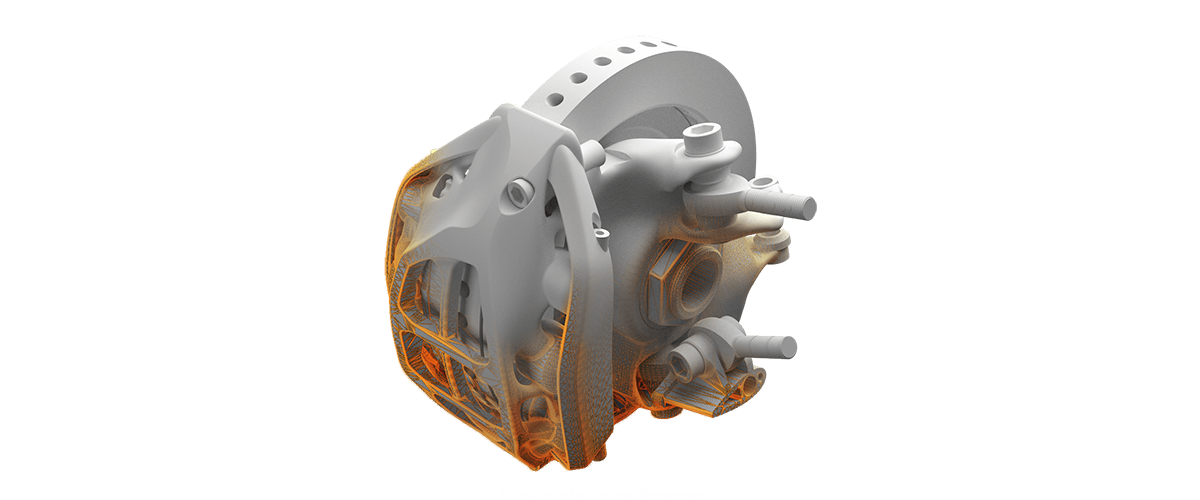
Just drag any CAD file into Cinema 4D and get started. You’ll almost always get something usable with the default settings. For more power and precision, you can dial in all sorts of options to control the Normals, hierarchy tessellation and more. And of course, there’s the most important option - swapping the Y and Z axes so everything is right-side up.
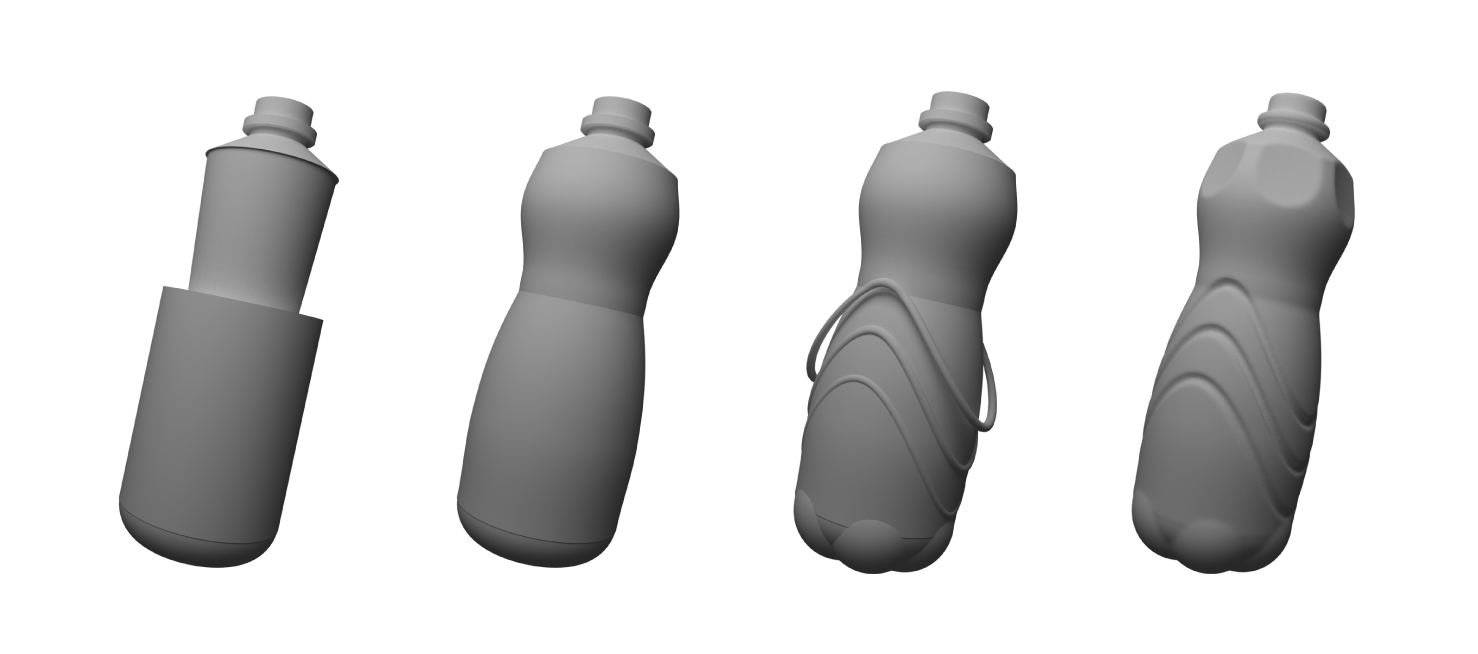
Volume Modeling
Create complex models by adding or subtracting basic shapes in Boolean-type operations, or create animated growing effects by turning noises and the new MoGraph Fields into actual geometry – it’s all possible thanks to Cinema 4D’s OpenVDB-based Volume Builder and Mesher. Volume Modeling offers a completely procedural way of creating objects you couldn’t even imagine before.
Build organic or hard-surface volumes in a very procedural way - combine multiple primitives and polygon objects with Boolean operations like Union, Subtract and Intersect. Add or subtract splines, cloners, fields and more to quickly create complex shapes, and smooth or reshape the result with voxel modifiers. With VDB remeshing, you can quickly re-topologize meshes to more effectively add details using Cinema 4D's powerful sculpting toolset.
ProRender Enhancements
The next generation of native GPU rendering is here - and it’s packed with production-level features to help you get the job done. Render sub-surface scattering, motion blur and multi-passes on your super-charged Nvidia PC or your state-of-the-art iMac.
Beauty isn’t just skin deep - realistic renders take into account the light that scatters around beneath the surface. A simple-to-use Subsurface Scattering shader makes it easy to render realistic-looking skin, wax, marble and more.
You can’t truly convey motion without blur. ProRender in Release 20 supports both linear motion blur for simple PSR animation and Sub-Frame Motion Blur for deformations. When using Sub-Frame Motion Blur, the results from each sub-frame are averaged so you can achieve faster, higher-quality renders with fewer iterations per frame.
Multi-pass Rendering: Unlock the power of compositing with ProRender’s new multi-pass workflow. In addition to standard illumination and emission passes, you can output the world coordinates, UVW, normal and depth passes. Isolate mattes with a Material ID pass, Object ID pass or assign specific matte colors to object groups within the Compositing tag. And you can choose whether each of the data passes in anti-aliased based on how you plan to use it when compositing.

Motion Tracking
Integrating 3D elements with 2D footage has never been easier thanks to some great workflow improvements to Motion Tracking in Cinema 4D Release 20. The Motion Tracking toolset has consistently matured since it was introduced in Release 16, supporting camera and object tracking, distortion correction and scene reconstruction. Release 20 focuses on refining the overall workflow, making these fantastic features even easier to use.
TRACK VIEW: The Track View magnifies and focuses on a specific 2D track so you can easily monitor and tweak its position. With the Tracker View, you can see the luminance values used internally to track the footage, making it easy to adjust the color filter for the best contrast and automatic tracking.
INTUITIVE LAYOUT: The entire Motion Tracker layout has been redesigned around the new Track View window and provides an ideal workflow with easy access to key managers and commands.
ENHANCED 2D TRACK LIST It’s easy to manage user tracks in a new list view. You can easily rename, reorder and organize tracks into folders, as well as adjust key parameters like the track size and shape directly in the list.
VIRTUAL KEYFRAMES Placing keyframes dramatically improves the automatic tracking of manual features, but it’s tedious. The new Virtual Keyframes option automatically adds virtual keyframes based on the error threshold or frame interval.
Here You can find a R20 Complete Feature List https://www.maxon.net/en/products/new-in-release-20/r20-complete-feature-list/


FOLLOW US